Beginner’s Essential Upholstery Toolbox
You’ve decided it’s time to tackle reupholstering grandma’s old chair! What are the essential tools you need to get started?

You don’t want to invest a lot of money since you’re just starting out, that’s totally understandable. The good news about upholstery is that you don’t have to spend a fortune to get started. But there are a few essentials that will make a the job easier and smoother. Upholstery can be physically hard work so anything that makes it easier is a big win!
This post contains affiliate links. This means I may make a small commission if you purchase through these links. For more information, please see my Disclosures here.
Tools For Stripping
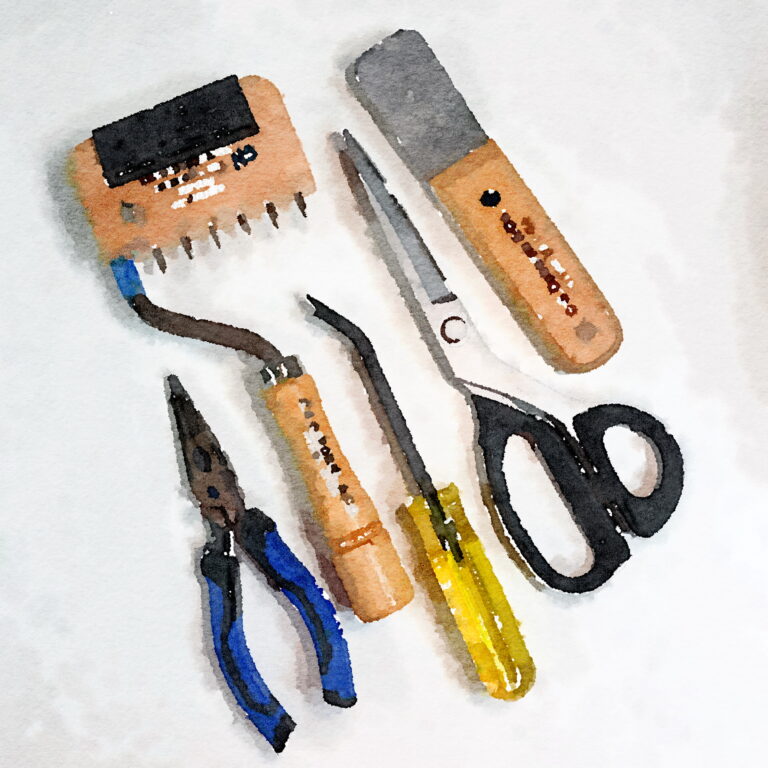
My #1 tool for upholstery is always a stapler lifter! Be sure to get an Osborne 120 1/2 staple lifter. It’s available on Amazon for around $24 dollars. I know many people opt to use a flat head screw driver.

But the prongs on the staple lifter are designed to dig underneath the staple and lift it up. The angled end gives you leverage to pry it on out. It’s a definite upgrade over a screwdriver. The #1 complaint about upholstery I hear from students is ‘why did they use soooo many staples?’ So do yourself a favor and get the right tool for the job!
Next you need a needle nose pliers. Some people prefer side cutters, they do the same job so pick which ever works for you. Often times the staple lifter will lift the staple but not pop it all the way out. The pliers will allow you to pull out the staple.
Another essential tool is a small hammer. I use a magnetic tack hammer, but any small hammer is fine.

Why would you need a hammer, especially for stripping fabric off of furniture? Because staples will break! And sometimes no amount of work with a needle nose pliers will get those ornery broken staples out! Just use the hammer to tap down those broken staples so you don’t get scratched when you start applying the fabric.
Measuring Tools
There’s lots of measuring in upholstery! The absolute basic measuring tools are a cloth tape measure and a yardstick. There’s always room to upgrade, but these two basics will take you pretty far.

The tape measure allows you to measure around soft furnishings. You can pass it through the furniture rails to get accurate measurements for estimating yardage. There is no substitute for this work horse. In fact, get several!
My favorite yardstick is a wooden one sold at both Home Depot and Lowe’s, often near the paint department. This is my favorite because it is 1 1/2″ wide. So not only can I use it for measuring and cutting fabric, it’s also the perfect width marking welt cord strips. Once you graduate to sewing cushions, this will become very important. Last time I checked, the yardsticks were 98 cents, so quite the bargain.
Marking Tools
There are so many options for marking fabric and other materials used in upholstery.
For fabric nothing beats good old chalk. It’s inexpensive and not permanent, which is extremely important. The one downside is that it doesn’t show up on lighter fabrics. In which case, a pencil may work.

There are other options like tailors chalk, chalk pens and disappearing ink pens. I’ve used all of these products for certain marking situations. BUT always test them on your fabric first. They may not come out even if they claim they will! This may not be a big deal when marking the cutting edge but proceed with caution if you are marks could be visible.
For non-fabric materials like Dacron and synthetic burlap a Sharpie works great.
Cutting Tools
A good pair of fabric shears is a must have for cutting fabrics. Fabric shears have longer cutting edges making cutting long lengths of fabric faster and easier. This significantly reduces the stress on your hands. I have upgraded to my favorite scissors, Kai 7250.

These are pretty pricey, but I started with a decent pair for about $30. I still have that $30 pair, and still use them. A good pair of scissors that can be sharpened will last a very long time.
Stapler Tools
If you’re doing a project like dining room chairs you can get away with a manual stapler. My manual stapler is very hard to operate. It takes both hands to work it and that means I’m not holding the fabric in place as I should be doing. The staples don’t sink into the wood all the way and generally is just not a very good or efficient tool.
I highly recommend investing in a pneumatic staple gun and an air compressor early in your upholstery journey. It truly is one of the best things you can do for yourself and your upholstery success.
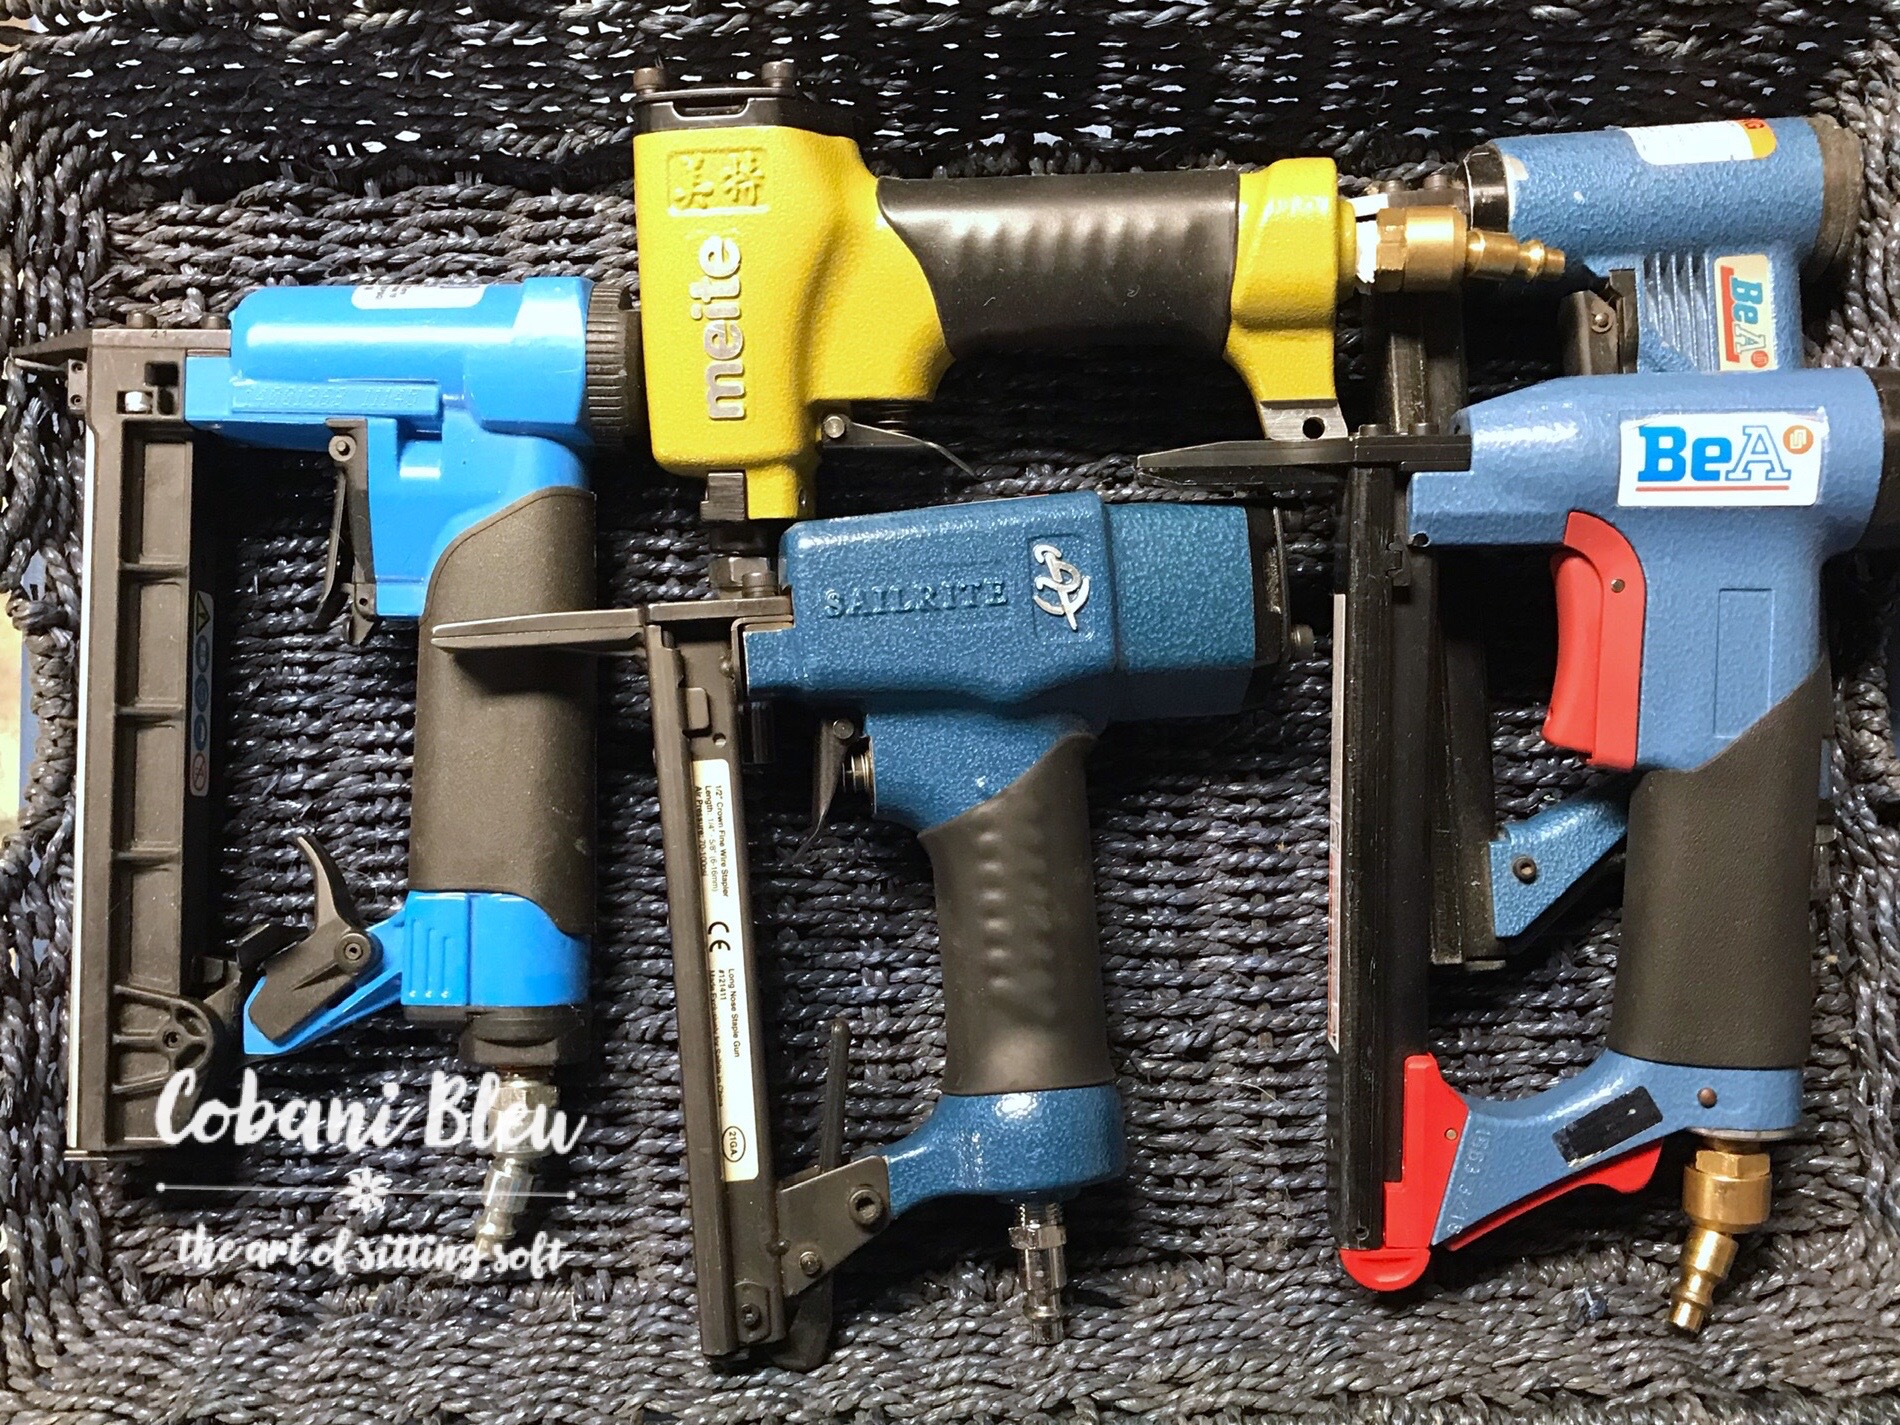
Good upholstery staplers can be found in the $100 range and a perfectly adequate air compressor can be bought for under $100. Check out my blog post on staplers here for the complete low down on what look for in both staplers and air compressors.

So that’s it, my essential toolbox for beginning upholstery. Notice I didn’t even include a sewing machine? Well if your upholstery adventure takes you very far, you will need a sewing machine eventually, but to start, you can work around it. Either choose projects that don’t need it, or buy pre-made trims and cording, or seek out a local upholsterer to complete sewing projects for you. As far as other tools go, there is always room to upgrade. You can add tools as your skills grow and you take on projects that will need them. You will discover all kinds of tools that will make the job easier and fun!
So my best advise is to start with the basics, dig in, have fun, learn lots then upgrade as you go! If you’re not sure where to start with your upholstery journey, get on the waitlist for my online courses here.